

Most AI images disappoint for the same reason: the prompt described a category, not a photograph. Ask for “a woman cooking in a kitchen” and you get the average of every stock photo ever captioned that way. Clean counters, even light, nobody in mid-motion.
The fix is not a longer prompt. It is knowing which eight things are worth describing, and what each one buys you.
The same model, the same day, two prompts
A woman cooking in a kitchen
A woman in her early 30s at a kitchen counter, mid-motion, tipping chopped herbs from a board into a pan. Relaxed, unposed, half-smiling at something off-frame. Worn linen shirt, sleeves pushed up, muted olive tones. A lived-in home kitchen, late afternoon, dishes still out behind her. Low side light through a window to camera left, warm and soft, falling off quickly into shadow on the far wall. Eye level, medium shot, shallow depth of field so the background goes soft. Candid and documentary, intimate rather than staged. Warm and slightly muted. Shot on Portra 400, 35mm, f/1.4.
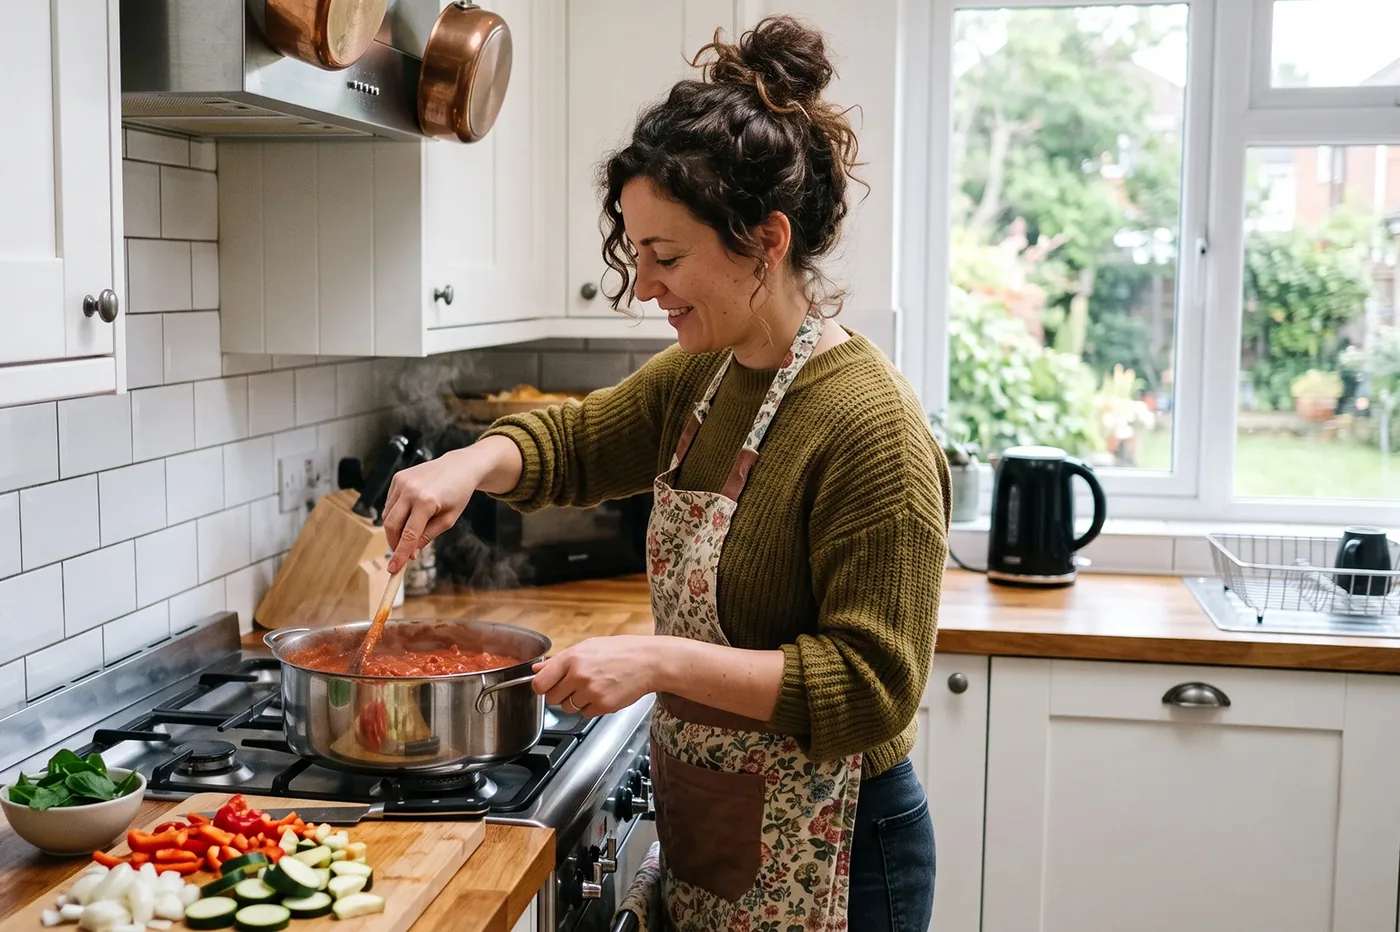
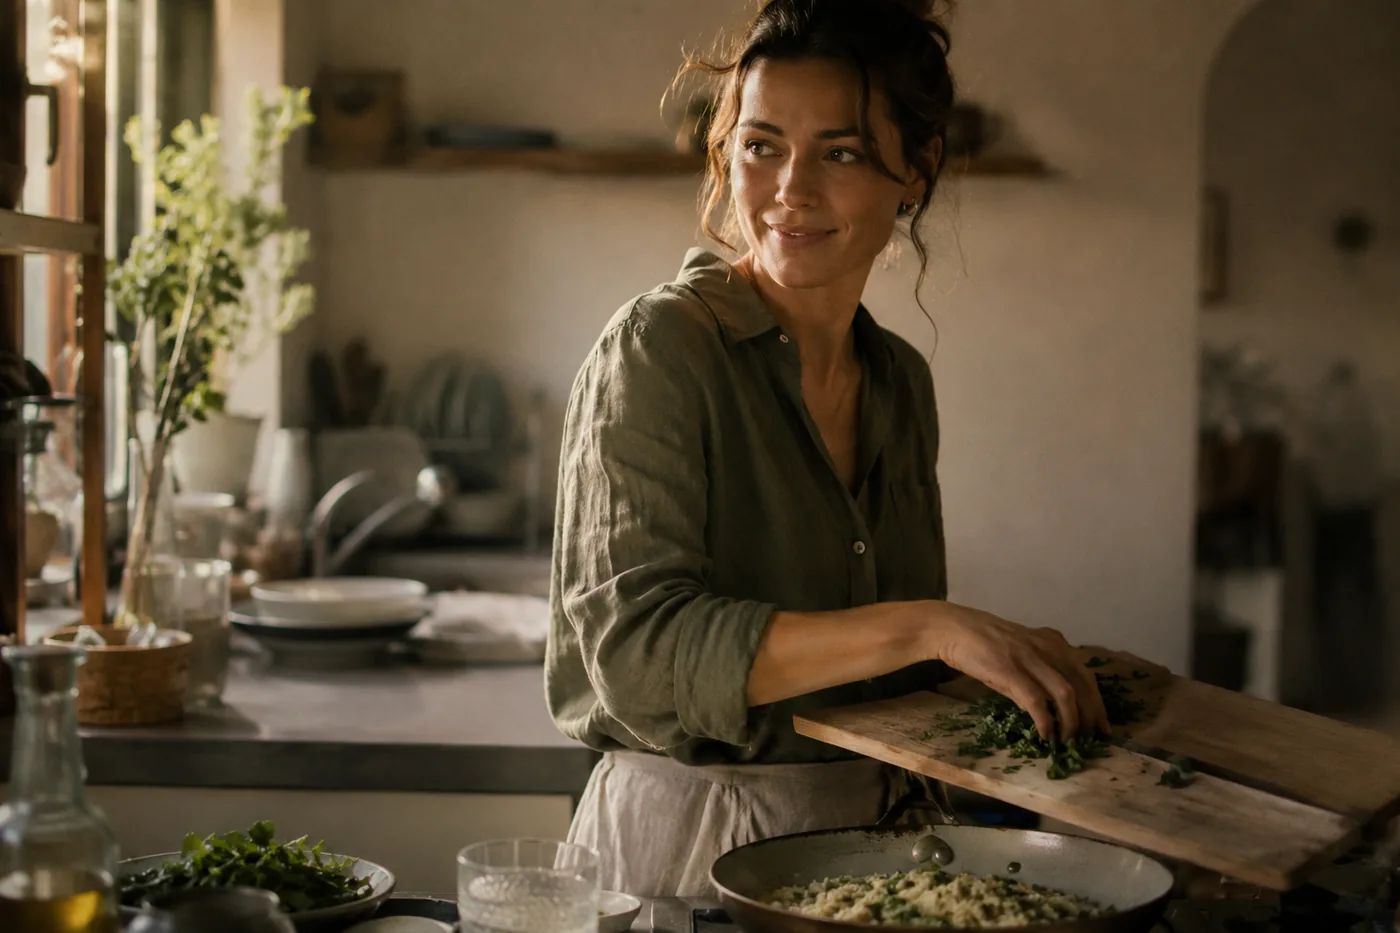
The two prompts above, run the same day on the same model.
The second one is not cleverer. It just answers the questions the model was otherwise going to answer for you.
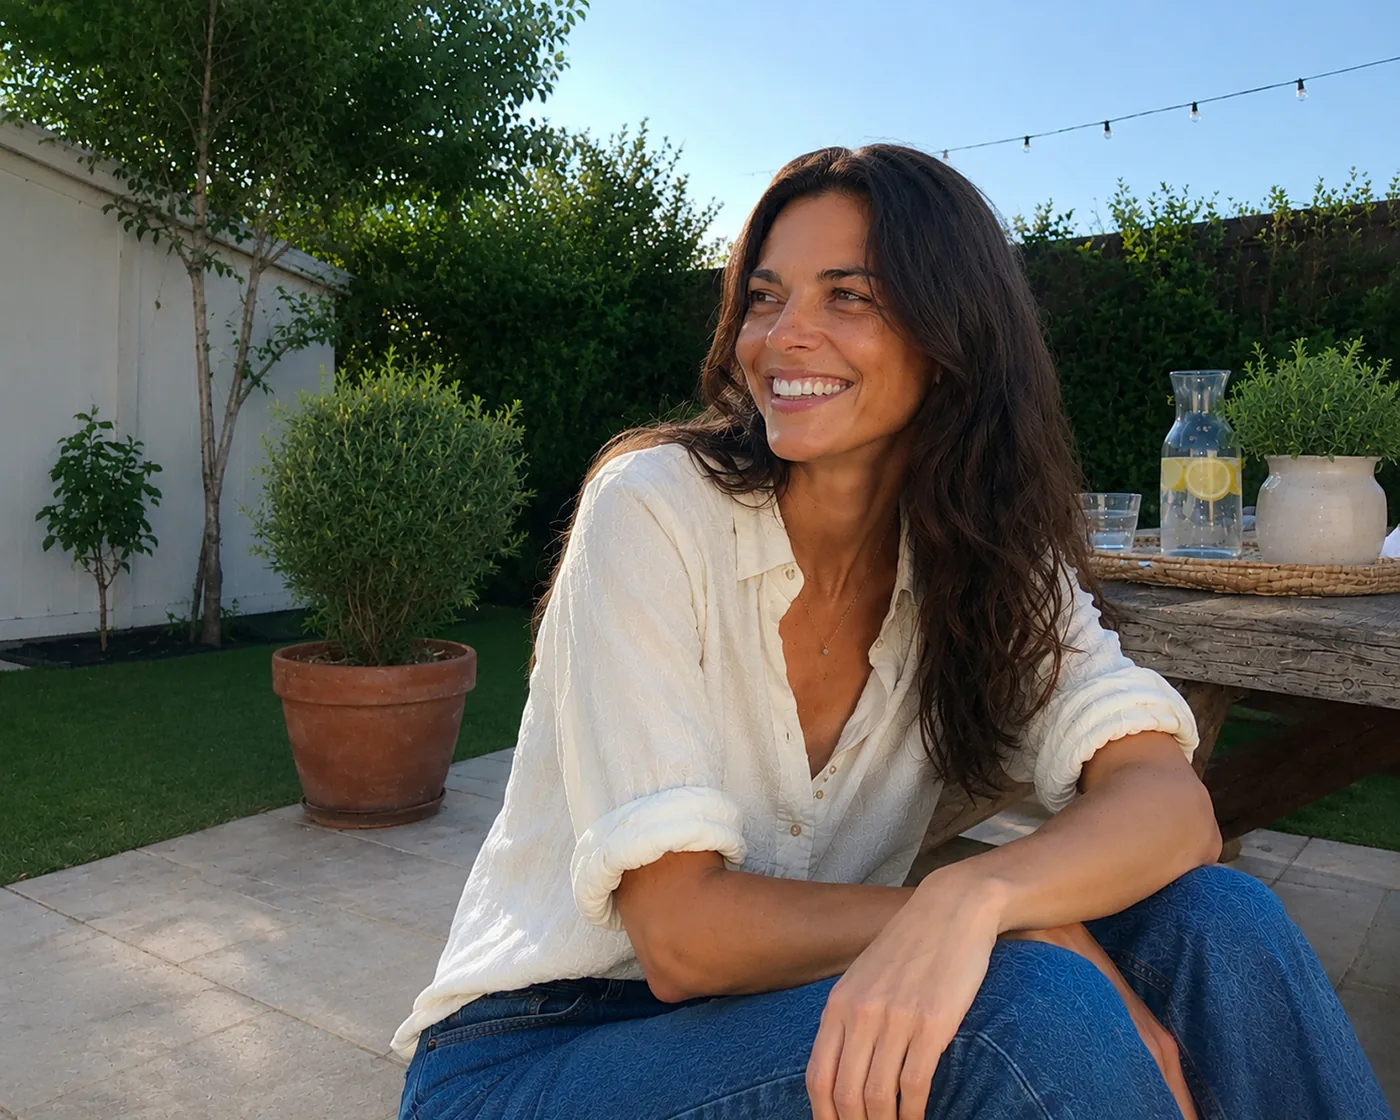
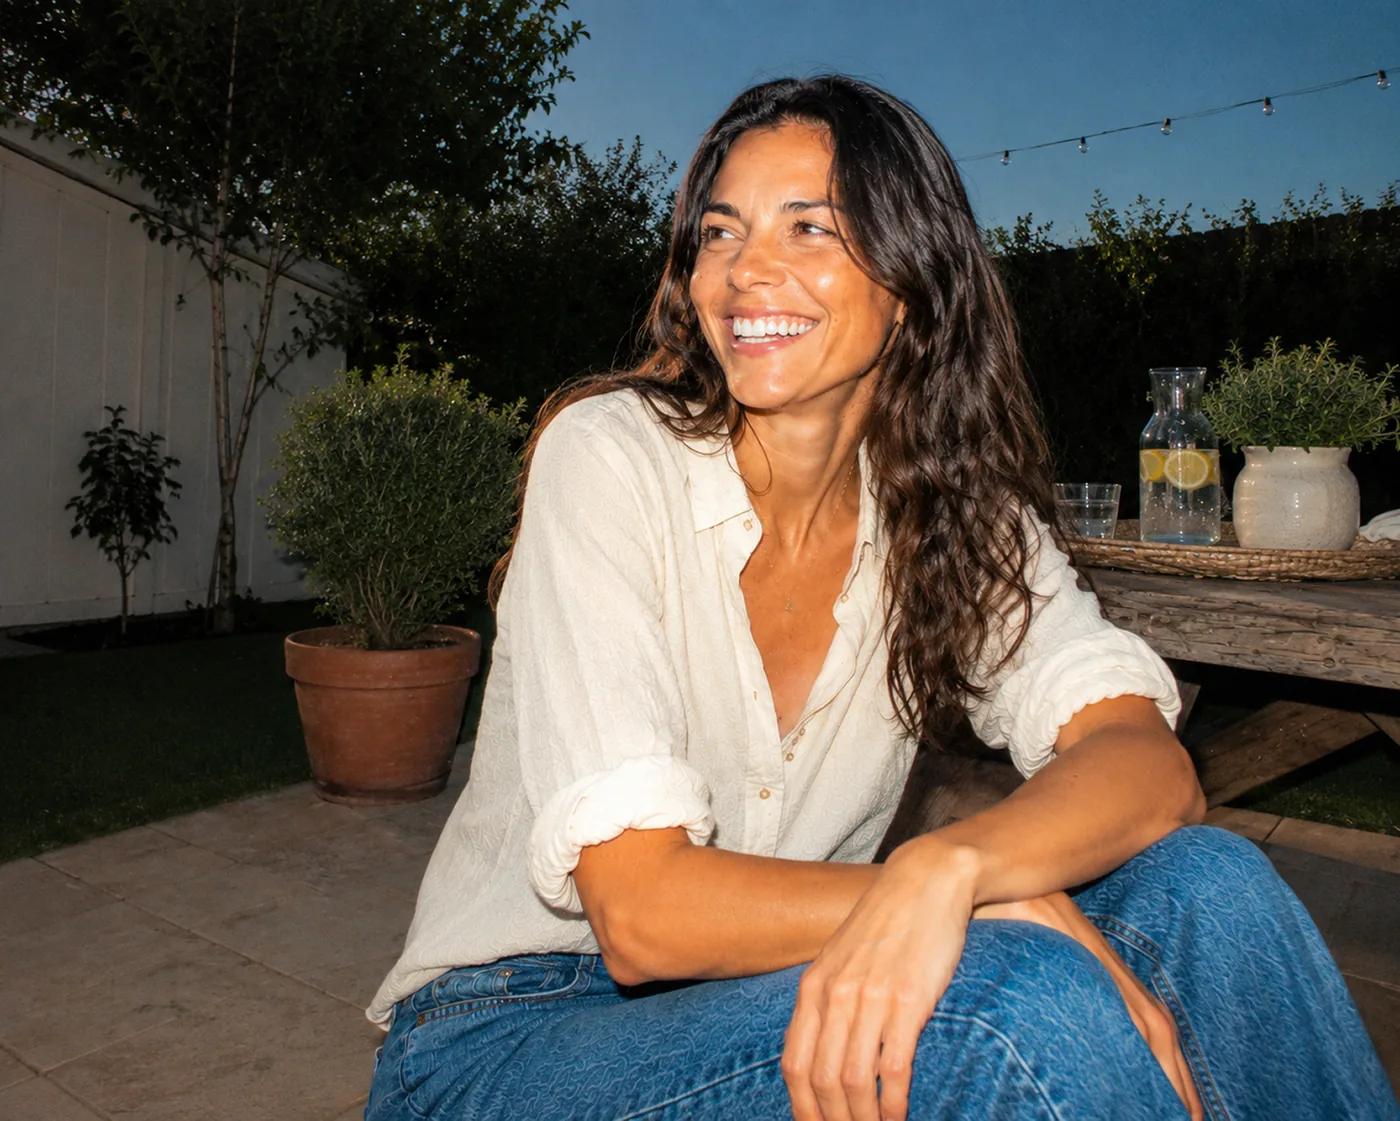
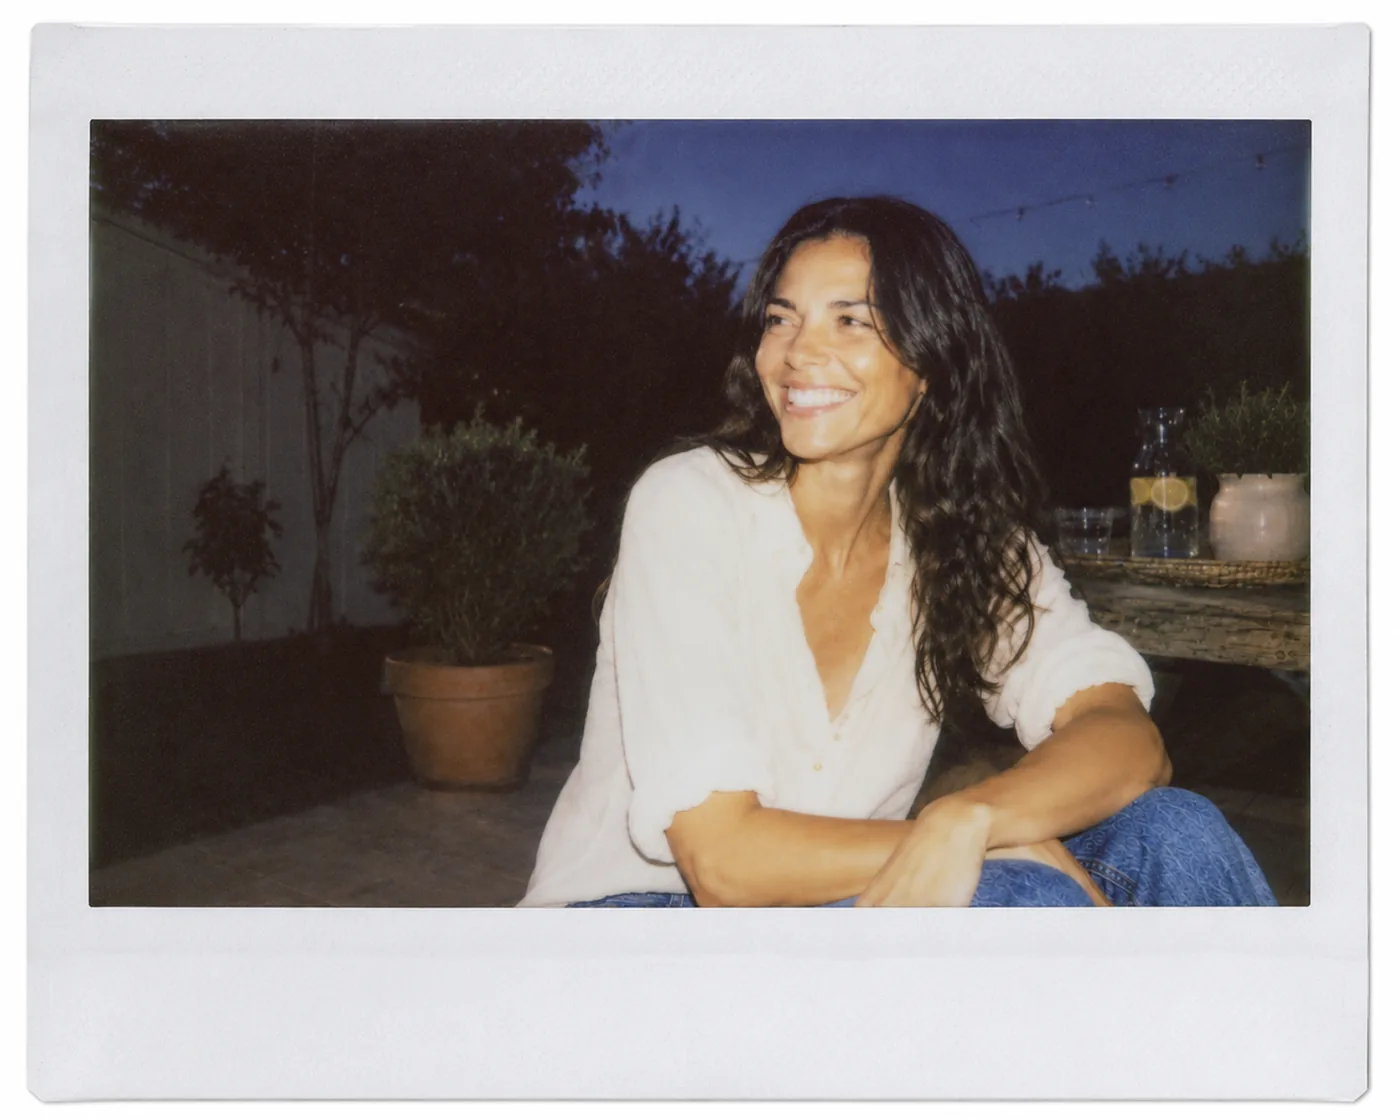
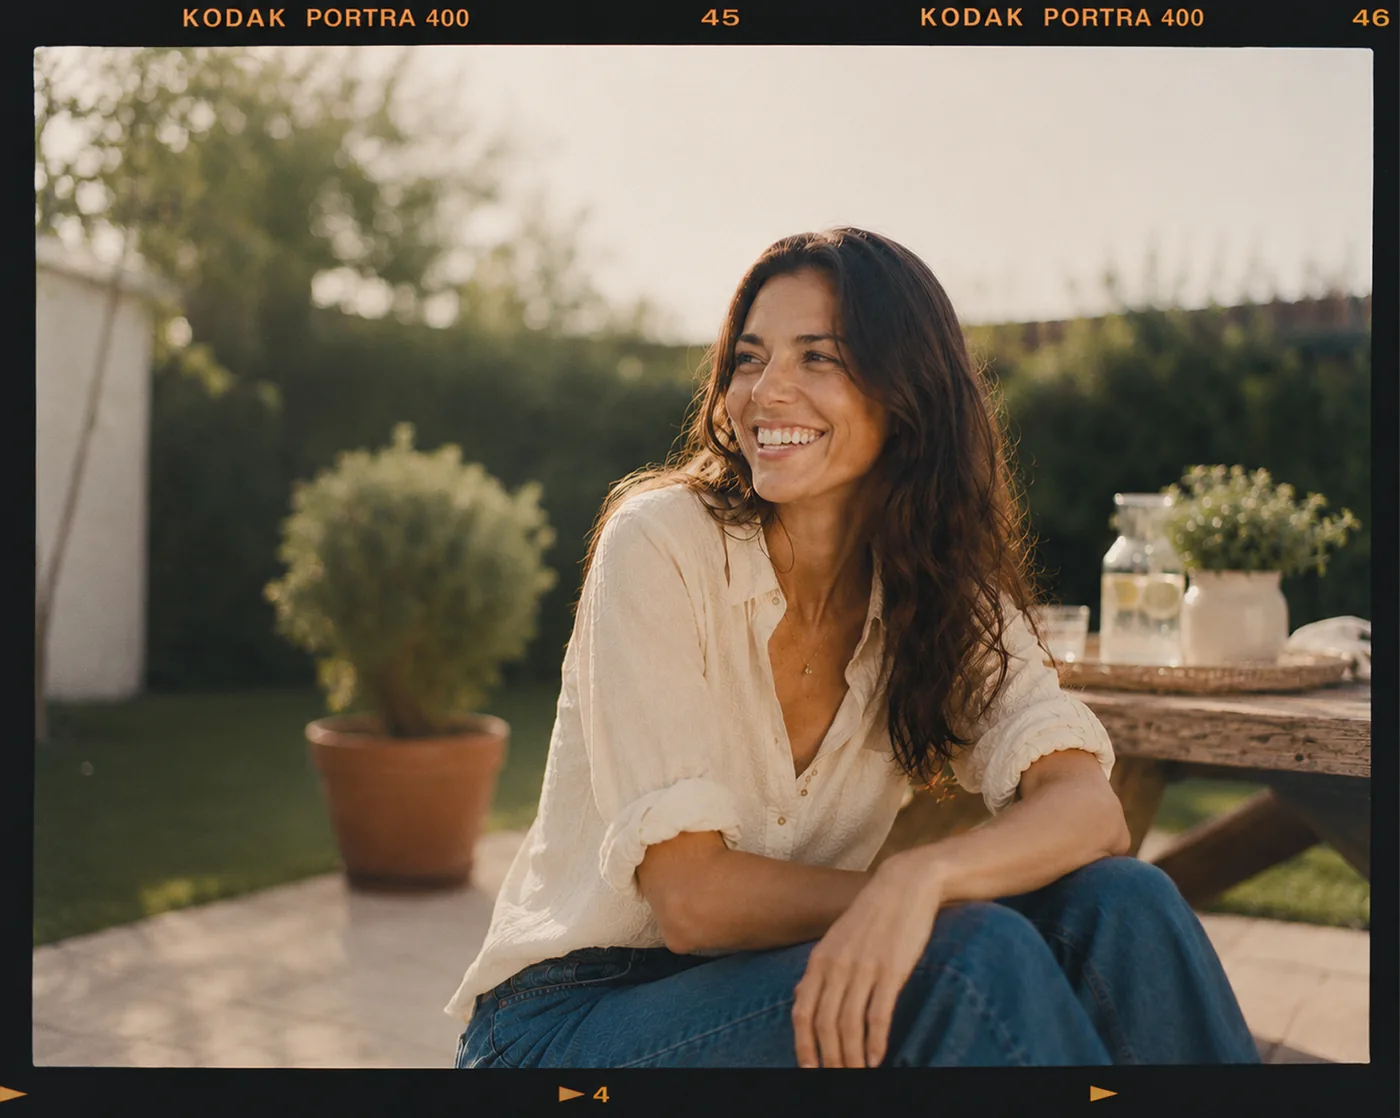
Change one variable at a time
This is the part that actually transfers. When you are learning what a detail does, hold everything else still and change only that one thing. Same subject, same wardrobe, same room.
You end up with a mental library of what each word buys you. That is what lets you brief an image in one pass later, instead of rerolling twenty times hoping something lands.
If you change three things and the image improves, you have learned nothing about which of the three did it.
01 · Reference and inspiration
Start with images you like. You probably already have a screenshot folder or a Pinterest board somewhere. Look at what your favourites share. It is usually one or two things, the light, the angle, the colour palette, not everything.
Name a photographer or a style. A named visual style does more work in three words than a paragraph of adjectives. “In the style of Petra Collins” or “like a Kinfolk editorial” gives the model a whole universe to pull from.
Say what you are not after. Ruling out the obvious default is often faster than describing the alternative. “Not stock photography. Not overhead. Not looking at camera.”
02 · Subject
Who or what is in frame, and what they are doing. How many people, roughly what age, and anything that actually matters about them.
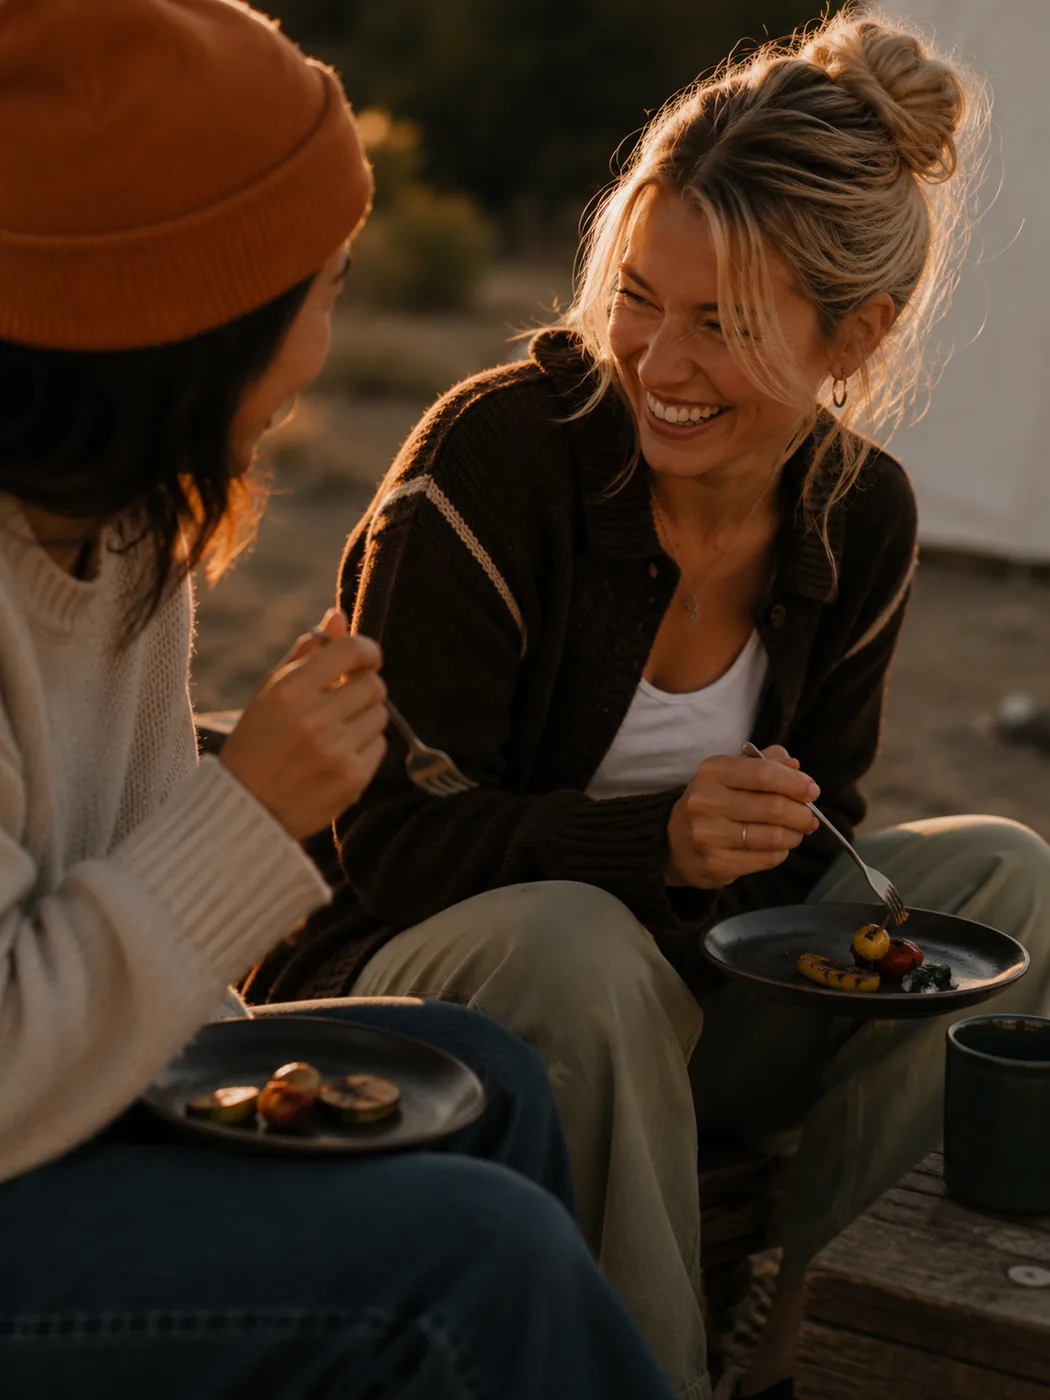
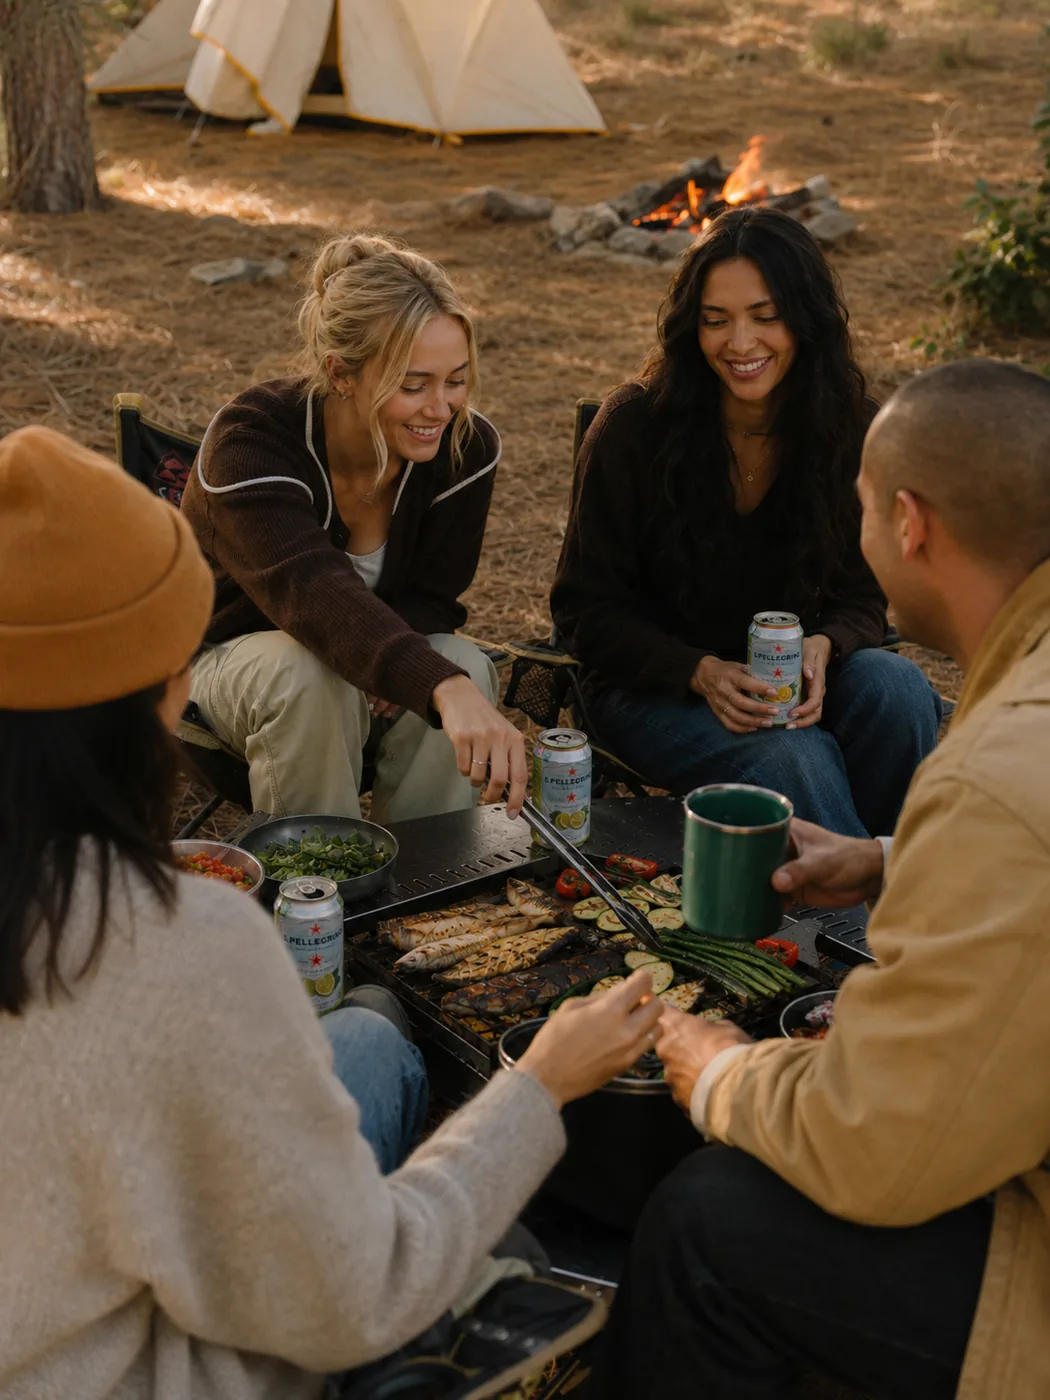
Then the choice most people skip: action or still. Mid-motion reads as candid. Held poses read as staged. This single decision sets the register of the whole image, so make it deliberately rather than inheriting it.
03 · Wardrobe and styling
Clothing register — casual, formal, athletic, workwear. Consistency with the environment matters more than the specific choice.
Visual aesthetic — retro, vintage, minimalist, maximalist. This one tends to leak into the whole frame rather than staying on the clothes. Useful when you want it, worth watching when you do not.
Colour and texture. Naming two or three colours keeps a palette coherent. Texture words do a lot of quiet work for realism: linen, denim, worn.
04 · Environment
Indoor or outdoor sets the lighting expectations before you have described the light at all.
Be specific about the place. Kitchen, backyard, campsite, studio, cafe. Specific places carry their own props and their own light for free.
Say how much background you want. A busy, lived-in background reads documentary. A bare one reads editorial. Say which, or you inherit the model’s default.
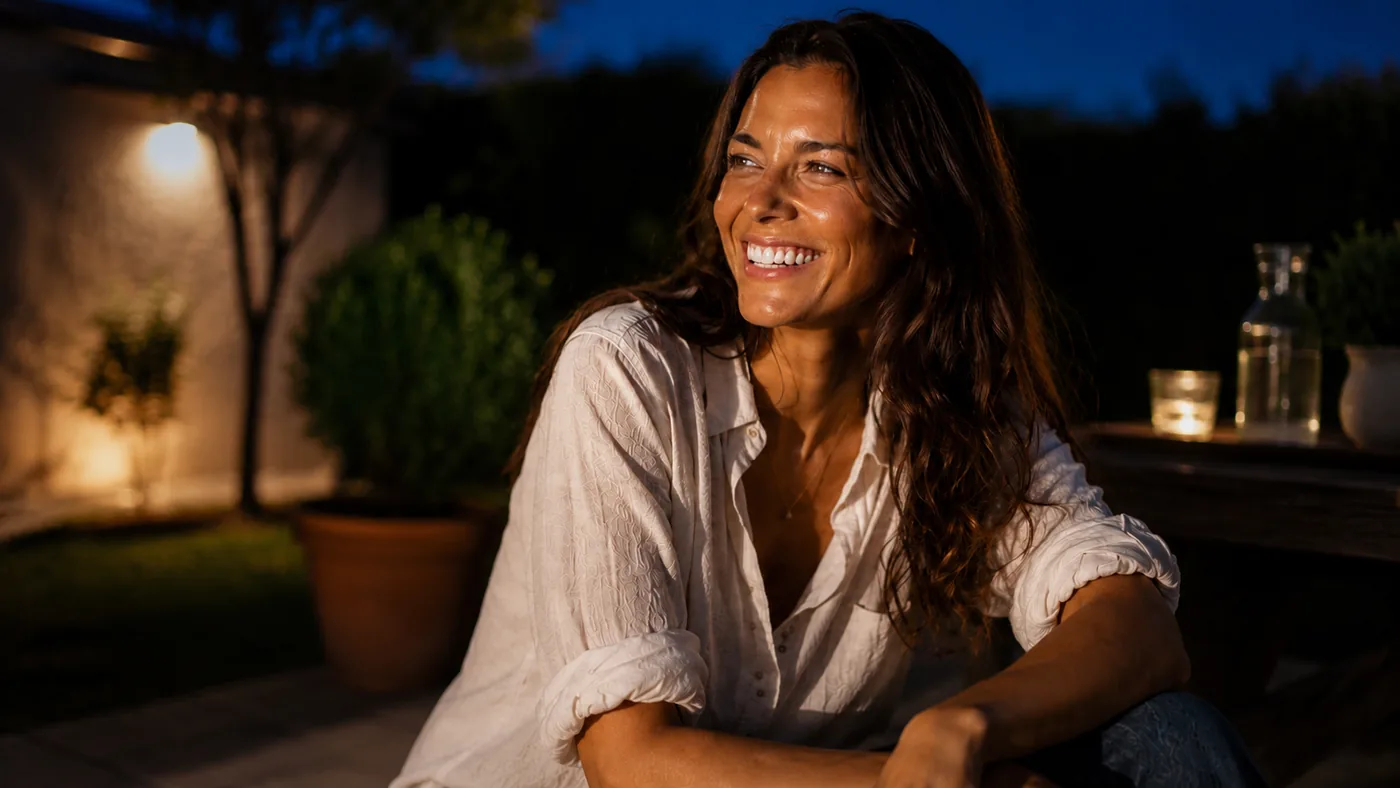
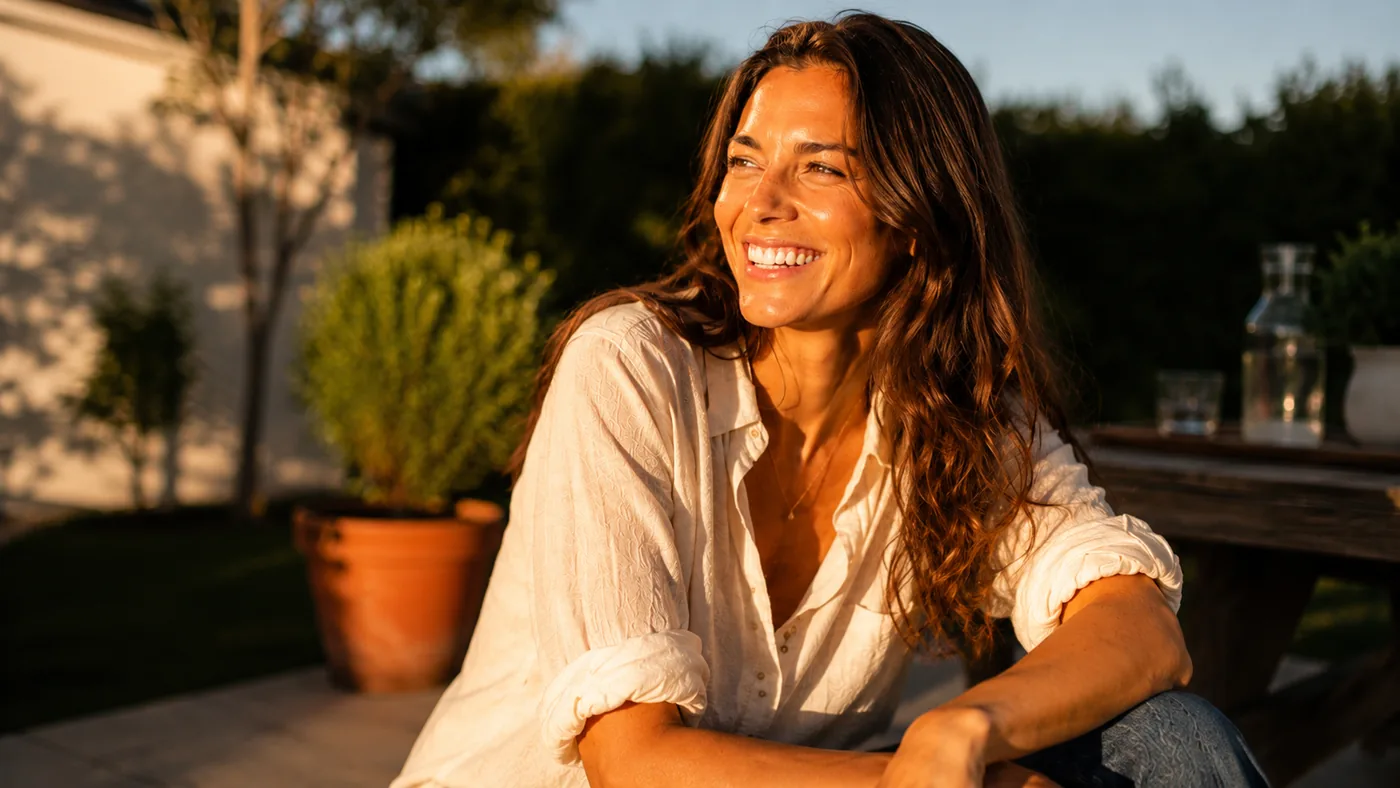
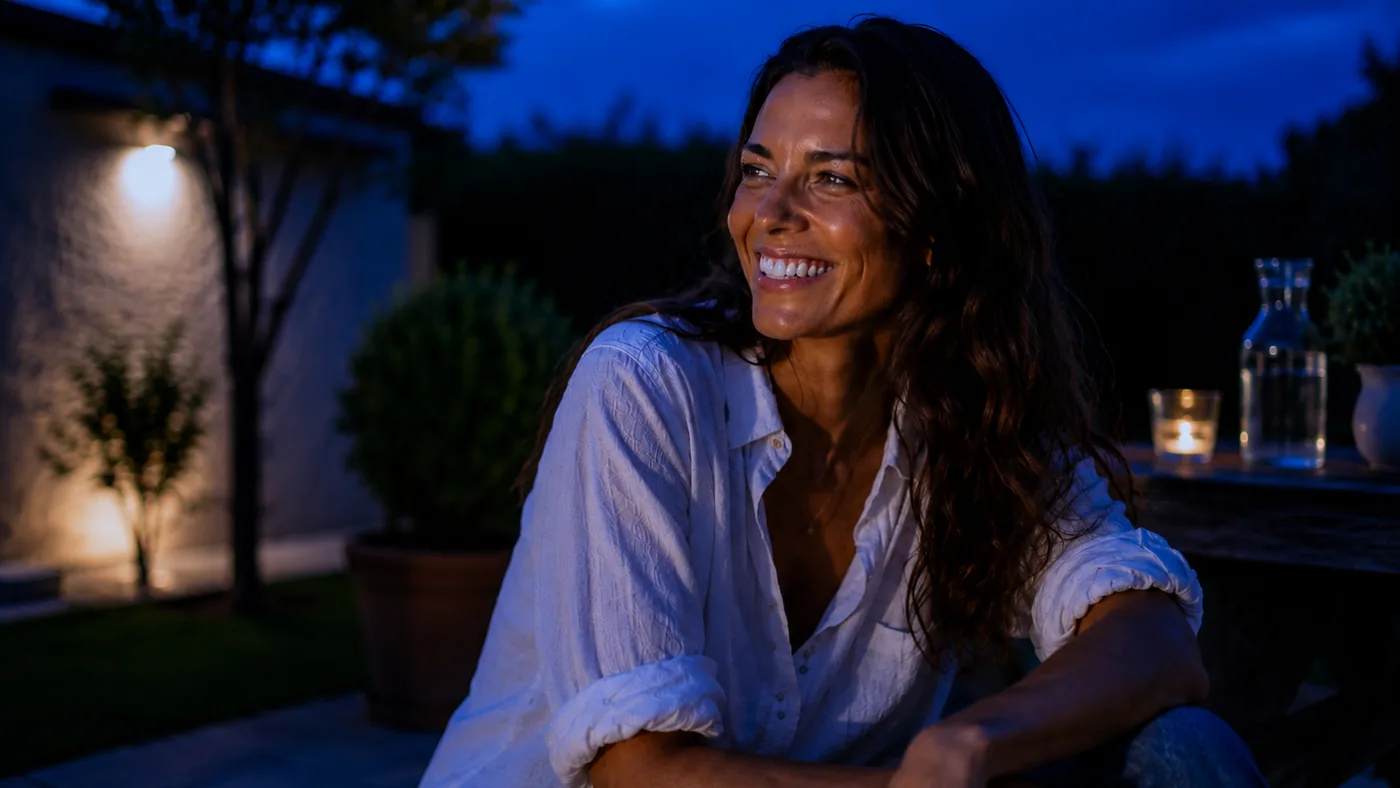
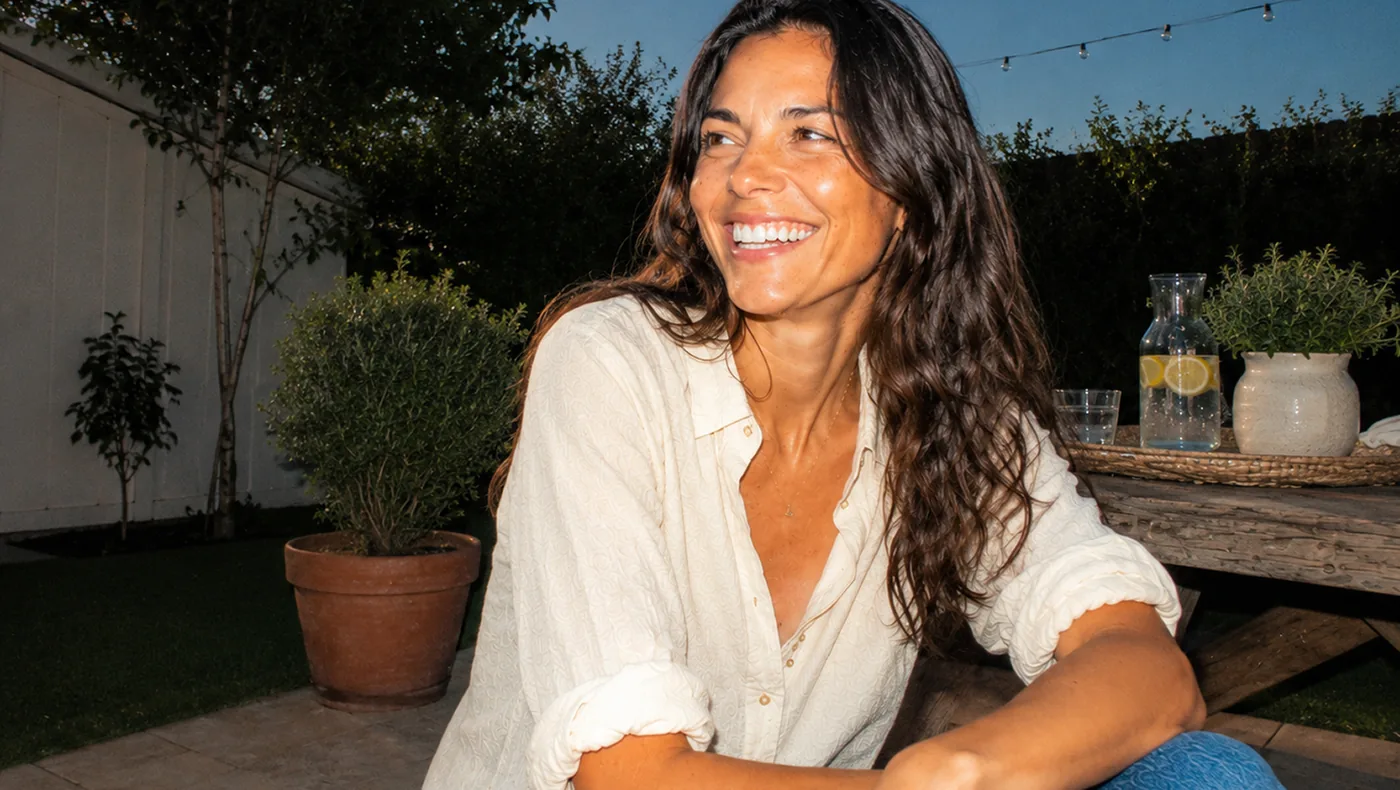
05 · Lighting
This is where most of the believability lives.
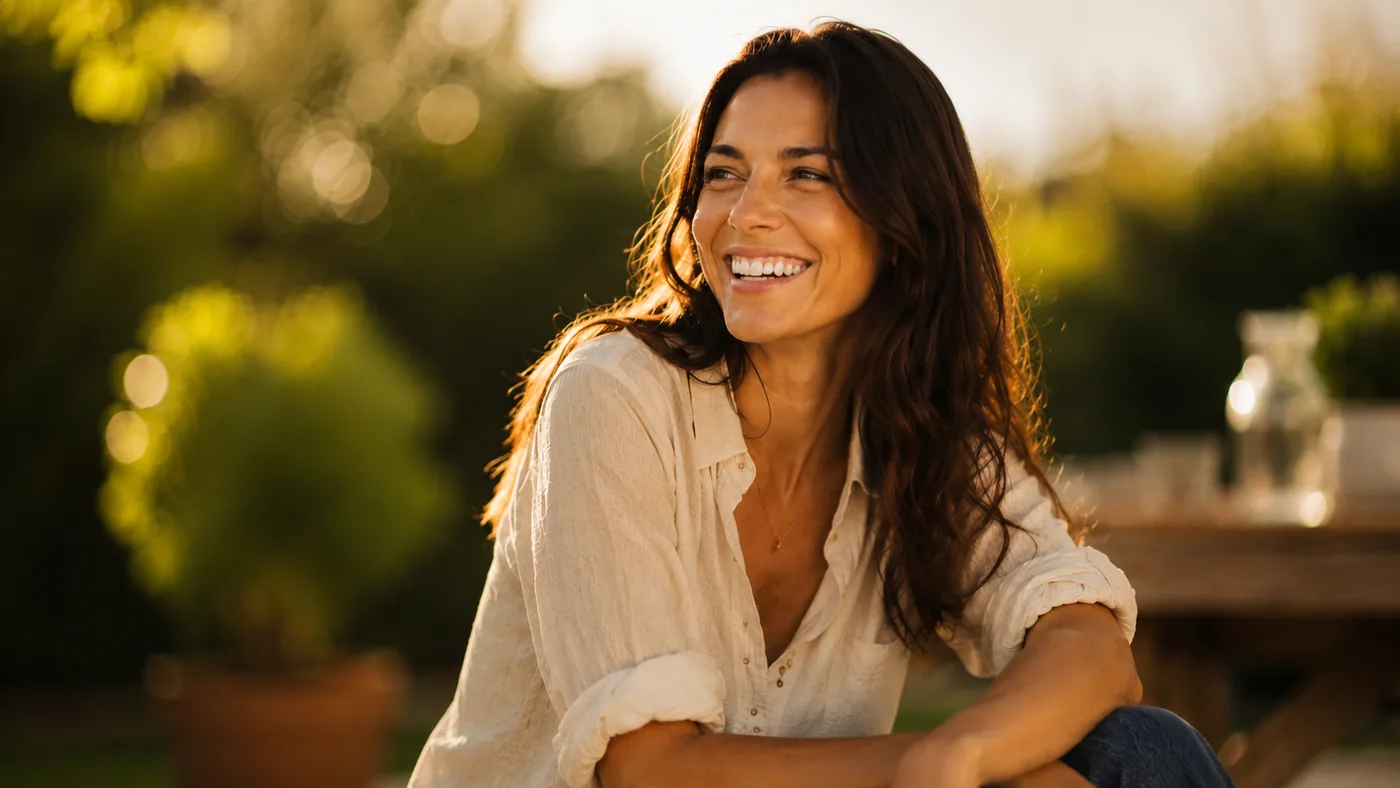
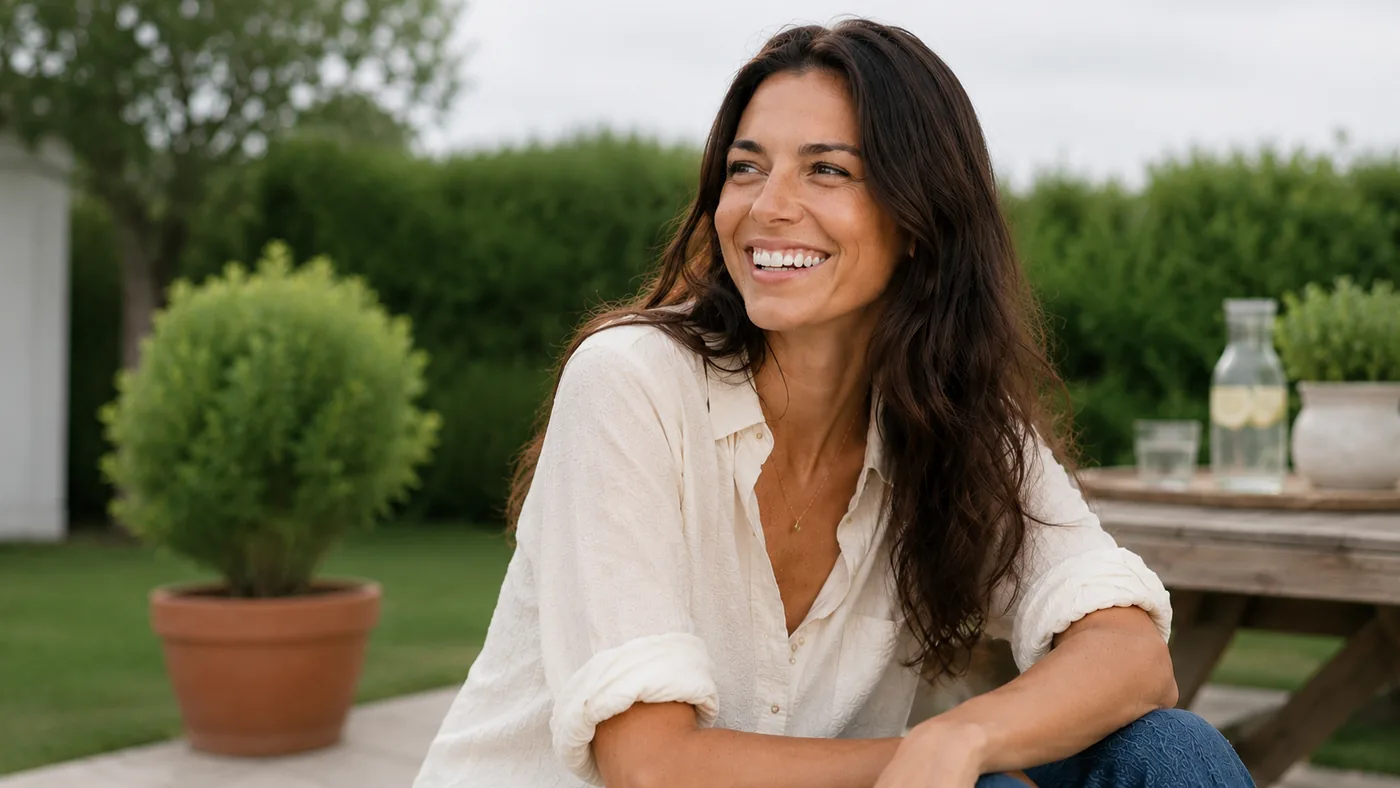
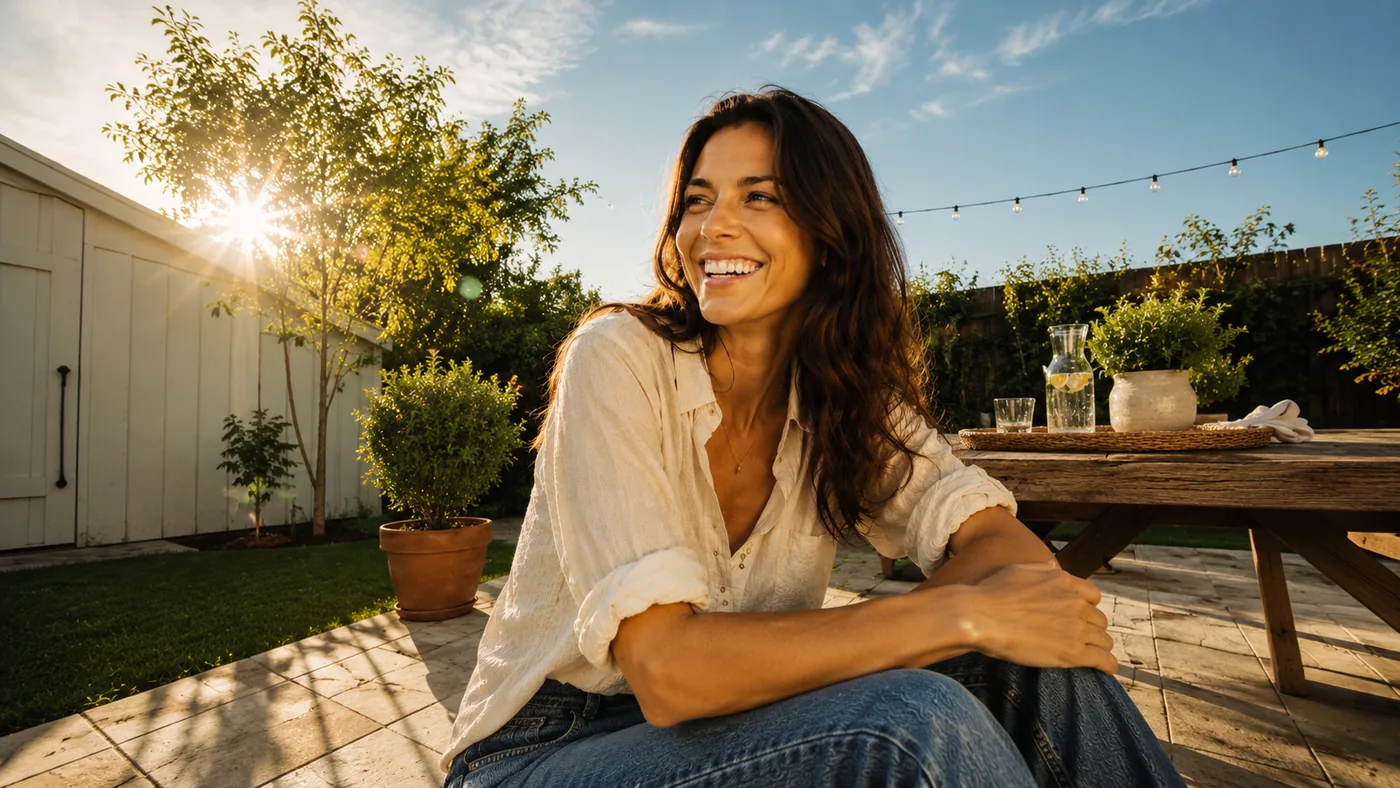
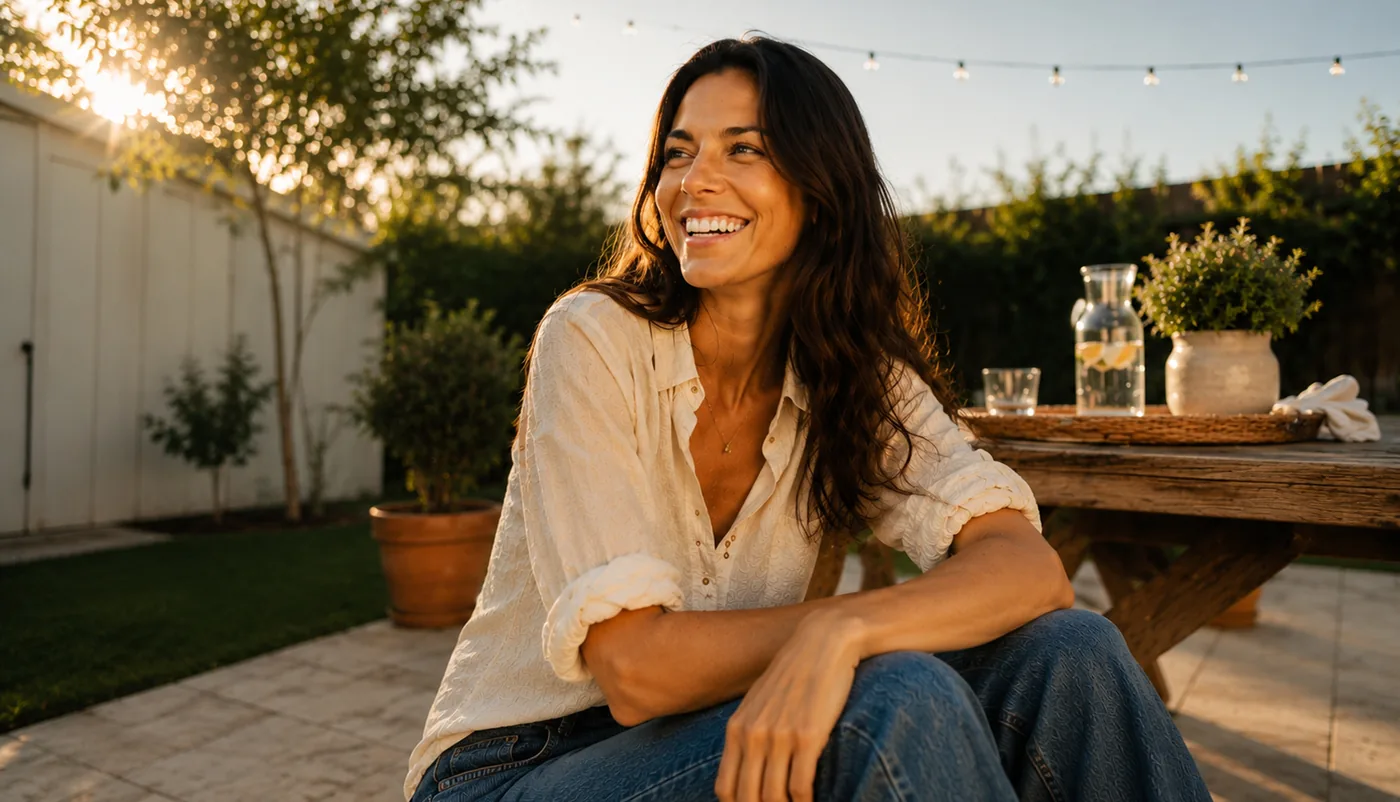
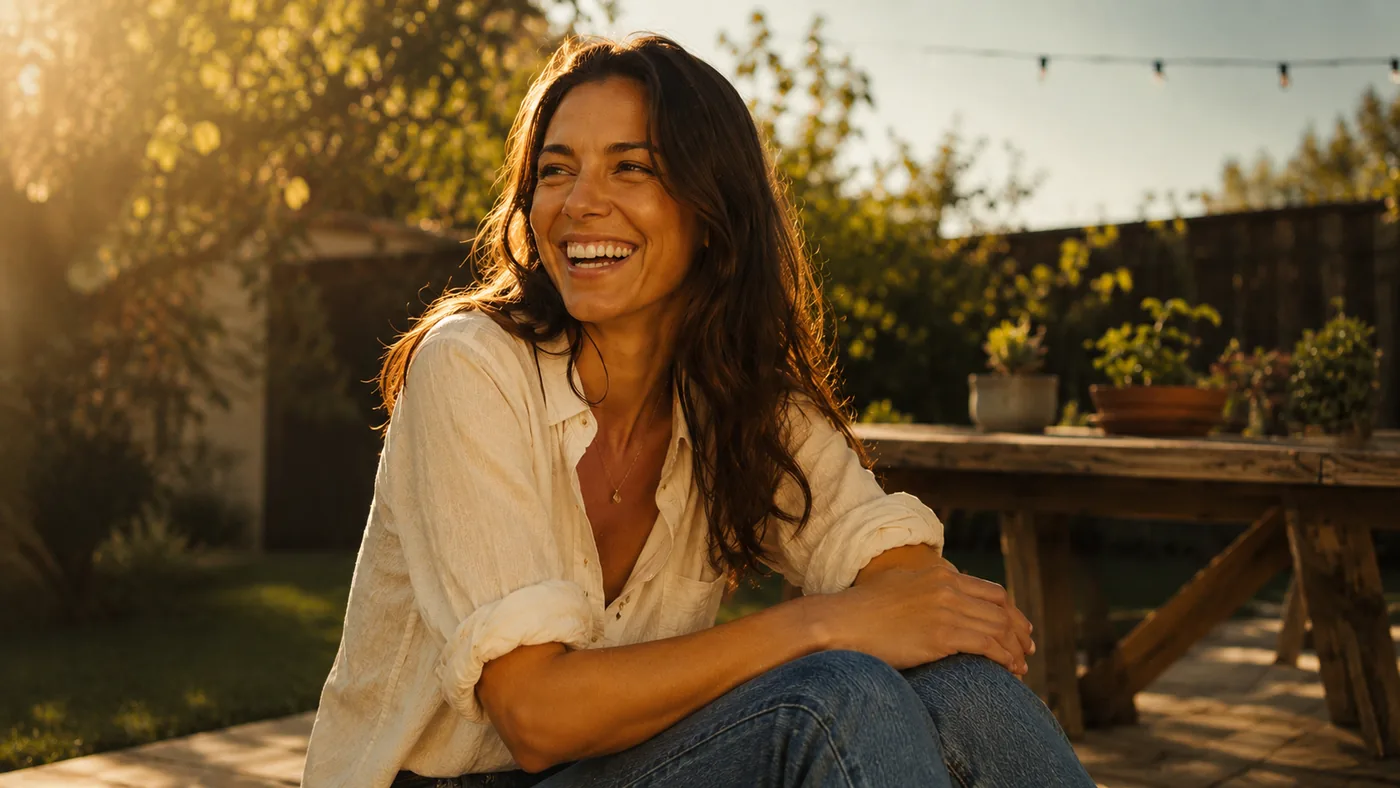
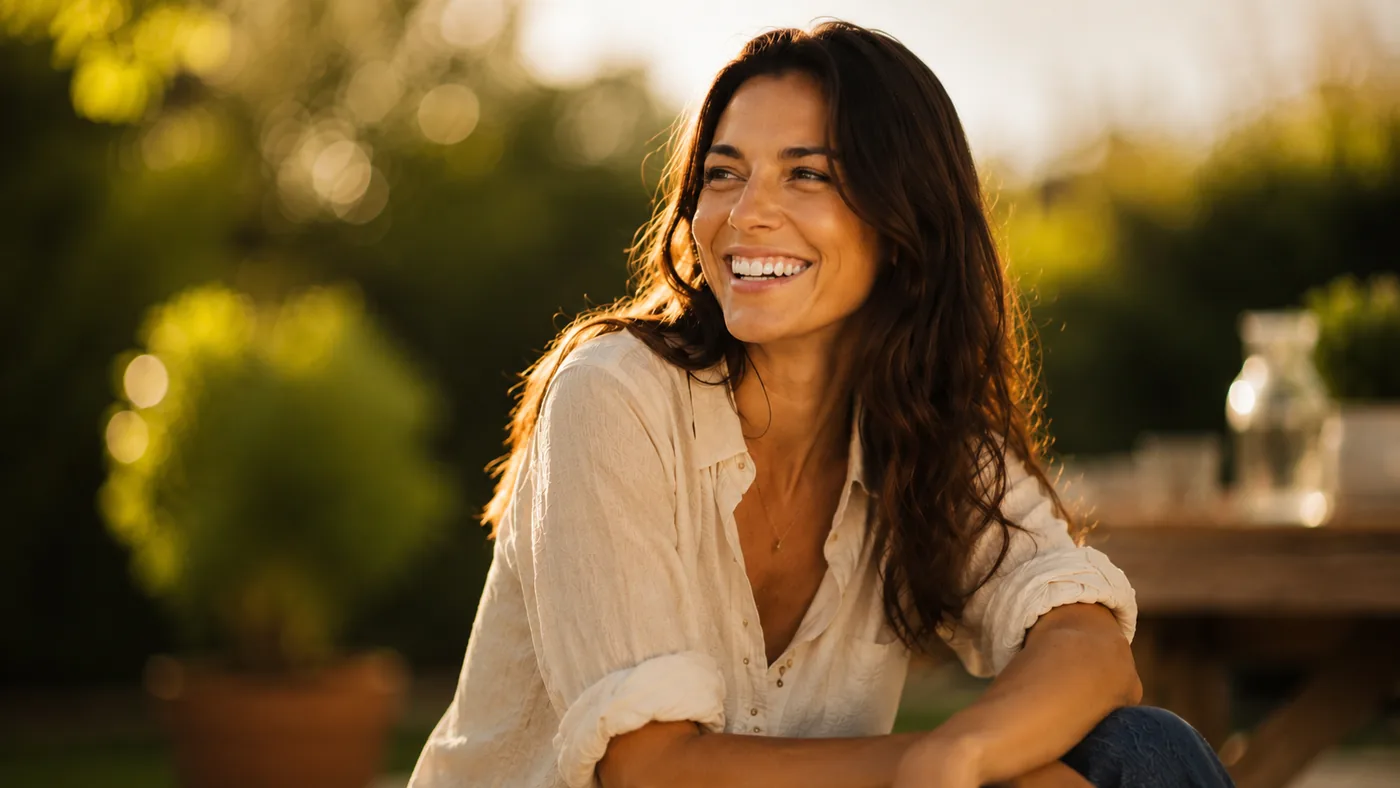
What is the source — sun, overcast sky, window, flash, practical lamps. One dominant source is usually more convincing than several.
Where is it coming from — behind, side, above, front. Direction does more for shape and mood than any adjective you could add.
What is bouncing it — a white wall, a wooden floor, sand, grass. Bounce is what fills the shadows, and naming it is the difference between an image that looks lit and one that looks photographed.
A handful of named conditions are worth memorising, because each one is a complete lighting setup in two words: rim light, overcast, golden hour, blue hour, on-camera flash.
06 · Composition and camera
Angle — eye level, low, overhead, over-the-shoulder. Low angles add stature. Overhead flattens and abstracts.
Depth of field is just how blurry the background is. Shallow means a soft background and a subject that pops. Deep means everything sharp and more context visible. Saying “shot at f/1.4” is shorthand for “very blurry background.”
07 · Mood and style
Tone — candid, editorial, documentary, staged. This is the one people most often leave out, and most often end up unhappy about.
Feeling — joyful, intimate, dramatic, peaceful. Vaguer than the other slots, but it steers expression and light together.
Colour treatment — warm, cool, muted, vibrant. Say it explicitly or you inherit whatever your reference implied.
08 · Technical look, optional
Lens. Focal length changes the image more than people expect. 16mm and 135mm of the same subject are barely the same photograph.
Post-processing — film grain, vintage fade, sharp digital. Easy to overdo. One term is usually enough.
This section is optional for a reason. If the first seven are vague, no amount of “shot on Portra 400” will save the image.
When this is worth the effort
- Briefing campaign imagery, whether social, CRM, or landing pages
- Generating concepts for a deck or a pitch
- Getting one specific hero image instead of rerolling twenty times
- Giving an AI agent clear enough direction that it stops guessing
The underlying skill is not prompting. It is art direction. These are the same eight things you would tell a photographer on a shoot, and the reason the descriptive prompt works is that it briefs the model the way you would brief a person.
The template
Delete the lines you do not need. An empty slot is a decision handed to the model.
REFERENCE:   in the style of ____ / like ____
SUBJECT:     ____, aged ____, ____ (expression), ____ (doing what)
WARDROBE:    ____ (register), ____ (aesthetic), ____ (colours, textures)
ENVIRONMENT: ____ (indoor/outdoor), ____ (specific place), ____ background
LIGHTING:    ____ (source) from ____ (direction), ____ (hard/soft,
             warm/cool), bouncing off ____
COMPOSITION: ____ (angle), ____ (framing), ____ depth of field
MOOD:        ____ (tone), ____ (feeling), ____ (colour treatment)
TECHNICAL:   ____ (film stock), ____ (camera/lens), ____ (processing)
Where to start
Pick one slot and run a grid on it, holding everything else still. Lighting is the one worth doing first. It changes the most, and it transfers to every image you brief afterwards.
I packaged the whole framework as an agent skill: all eight slots, the vocabulary for each, and both worked examples. Drop it in ~/.claude/skills/ai-image-prompts/ and it will build a prompt from a one-line brief, or take apart one you already wrote.